Texture Baking tips - Part II
Hey guys, this is the second part of my series of baking tips and tricks for Visual Effects. This one I focus on creating cavity masks. I present three different methods that you can use, using Mudbox or Zbrush. You can check part I here: https://www.artstation.com/artwork/rROGo5
You can check a more in-depth article in my website: http://www.paulhpaulino.com/improve-your-organic-textures-with-a-cavity-map
Let me know in the comment section what kind of breakdown you would like to see in the future!
The Cassowary model used was provided by my friend Daniel S. Rodrigues: https://www.artstation.com/artwork/KzkXo
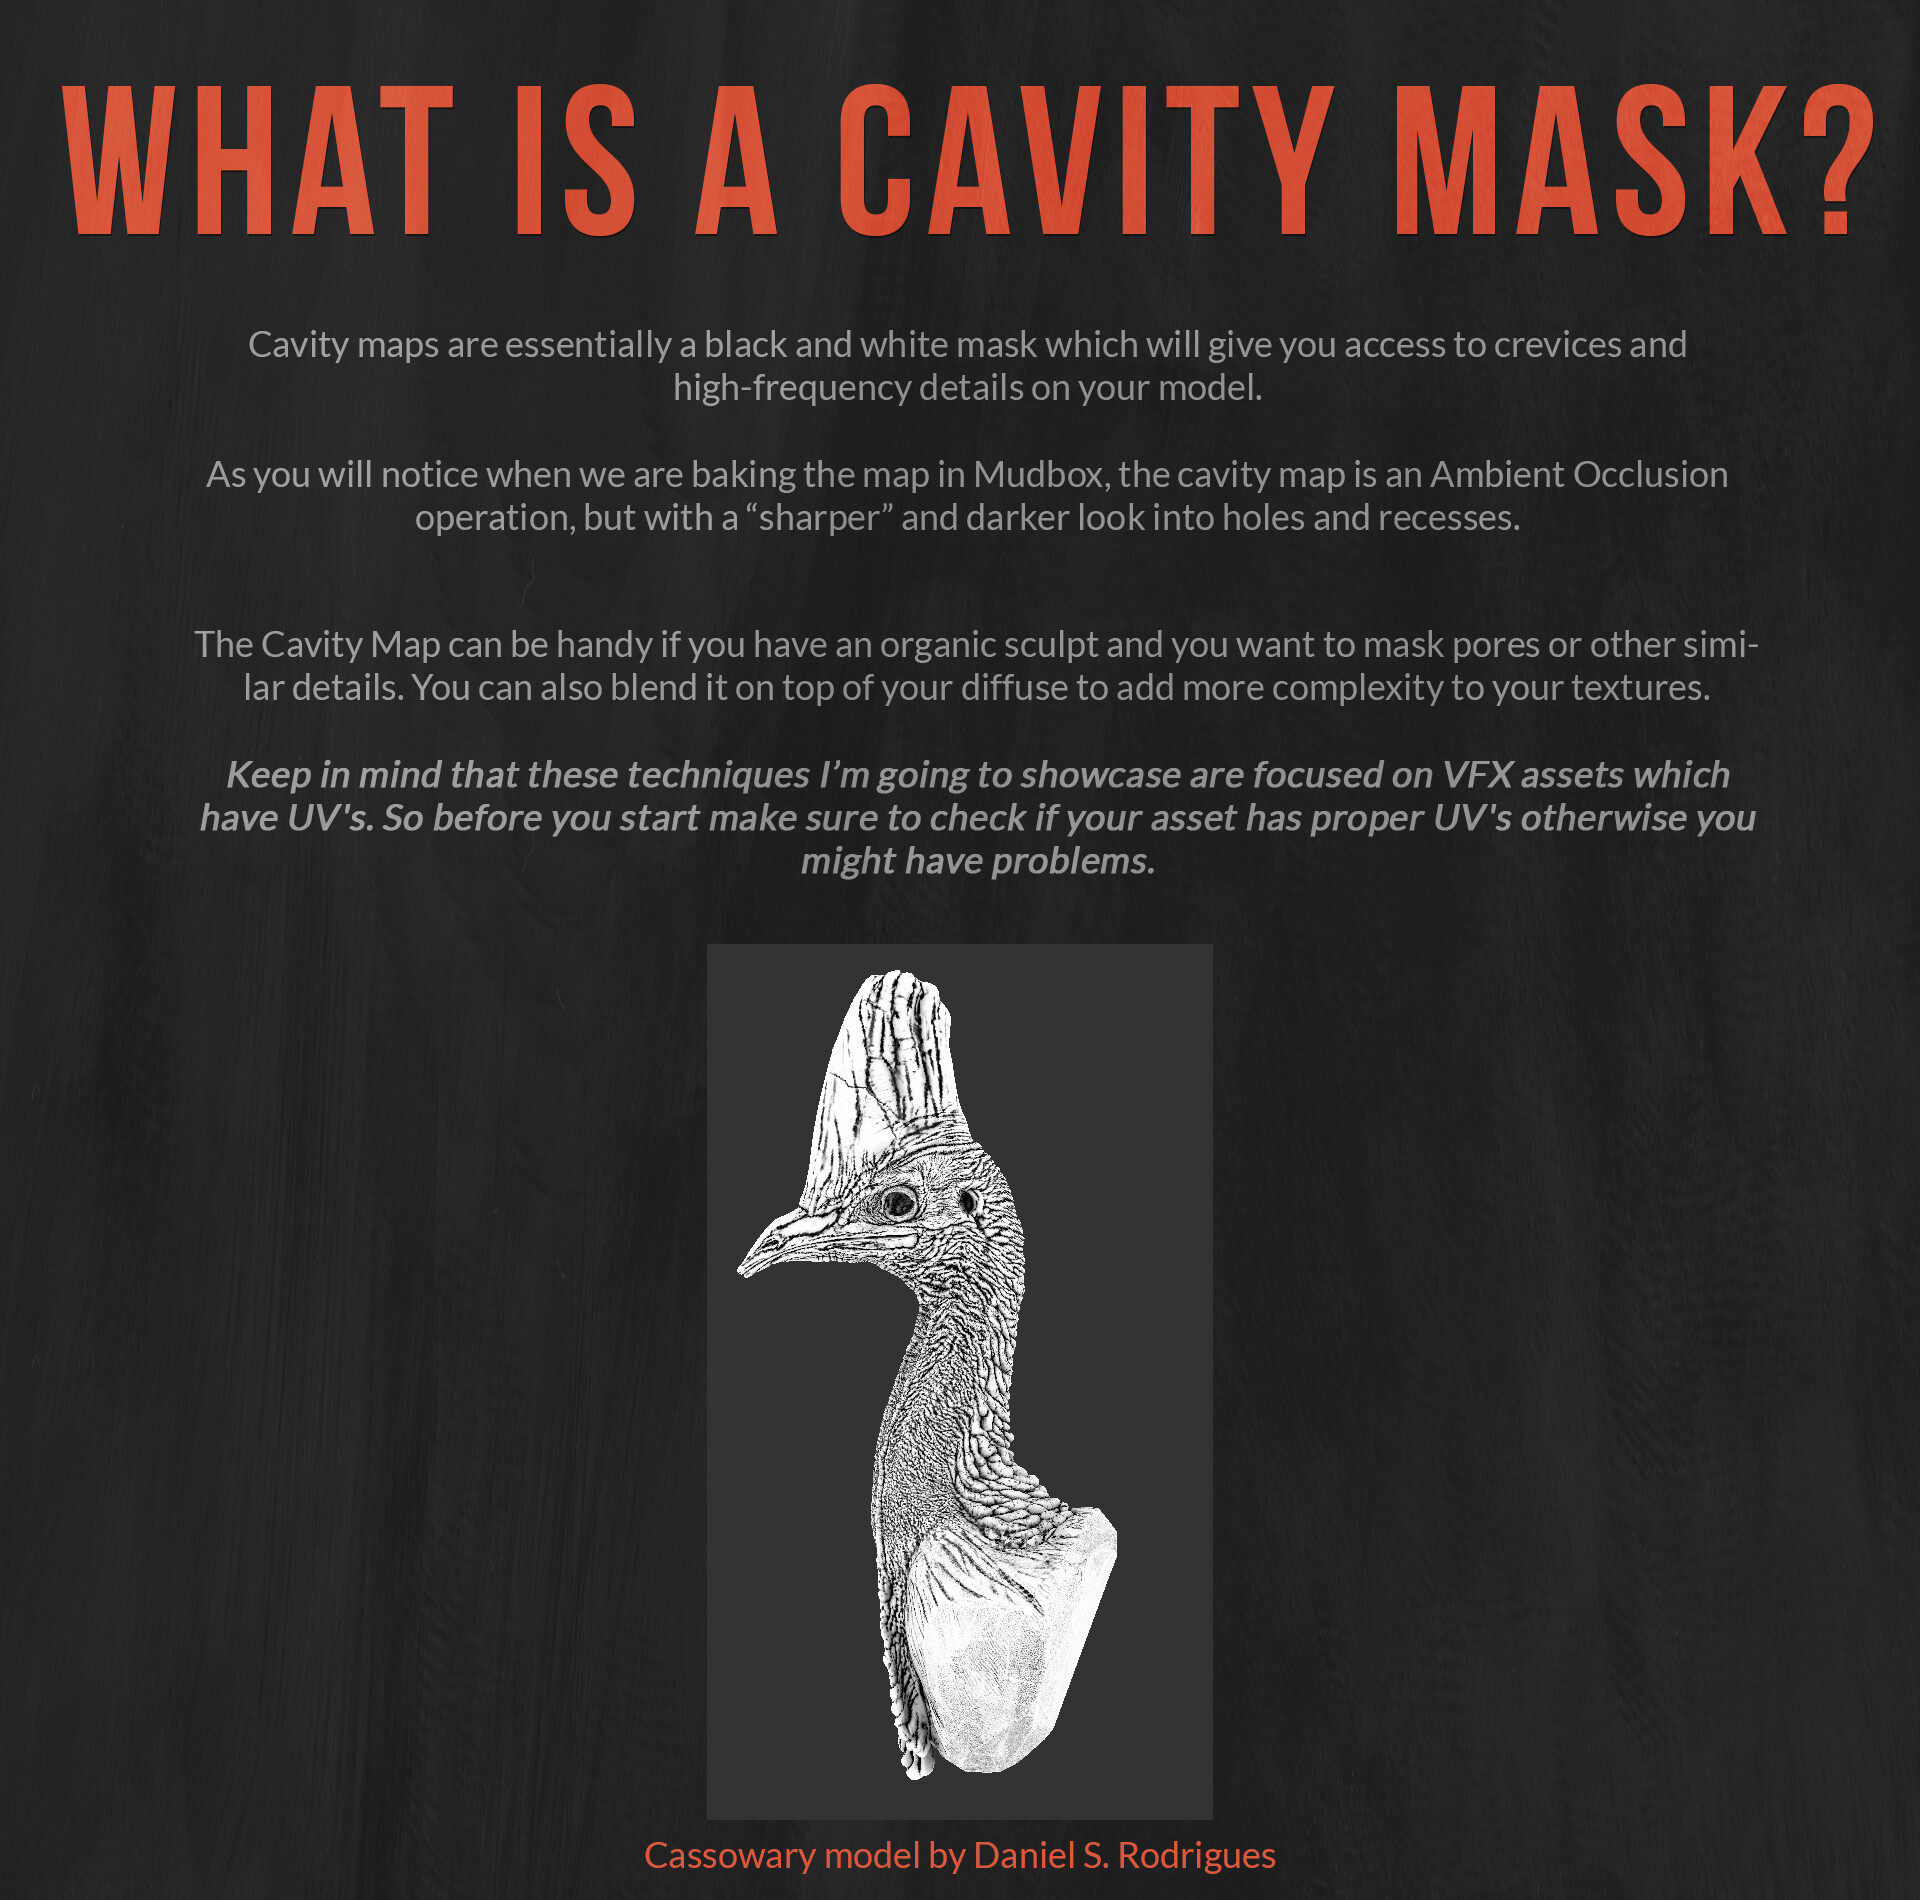

Open Mudbox and import your HIGH RES geometry.
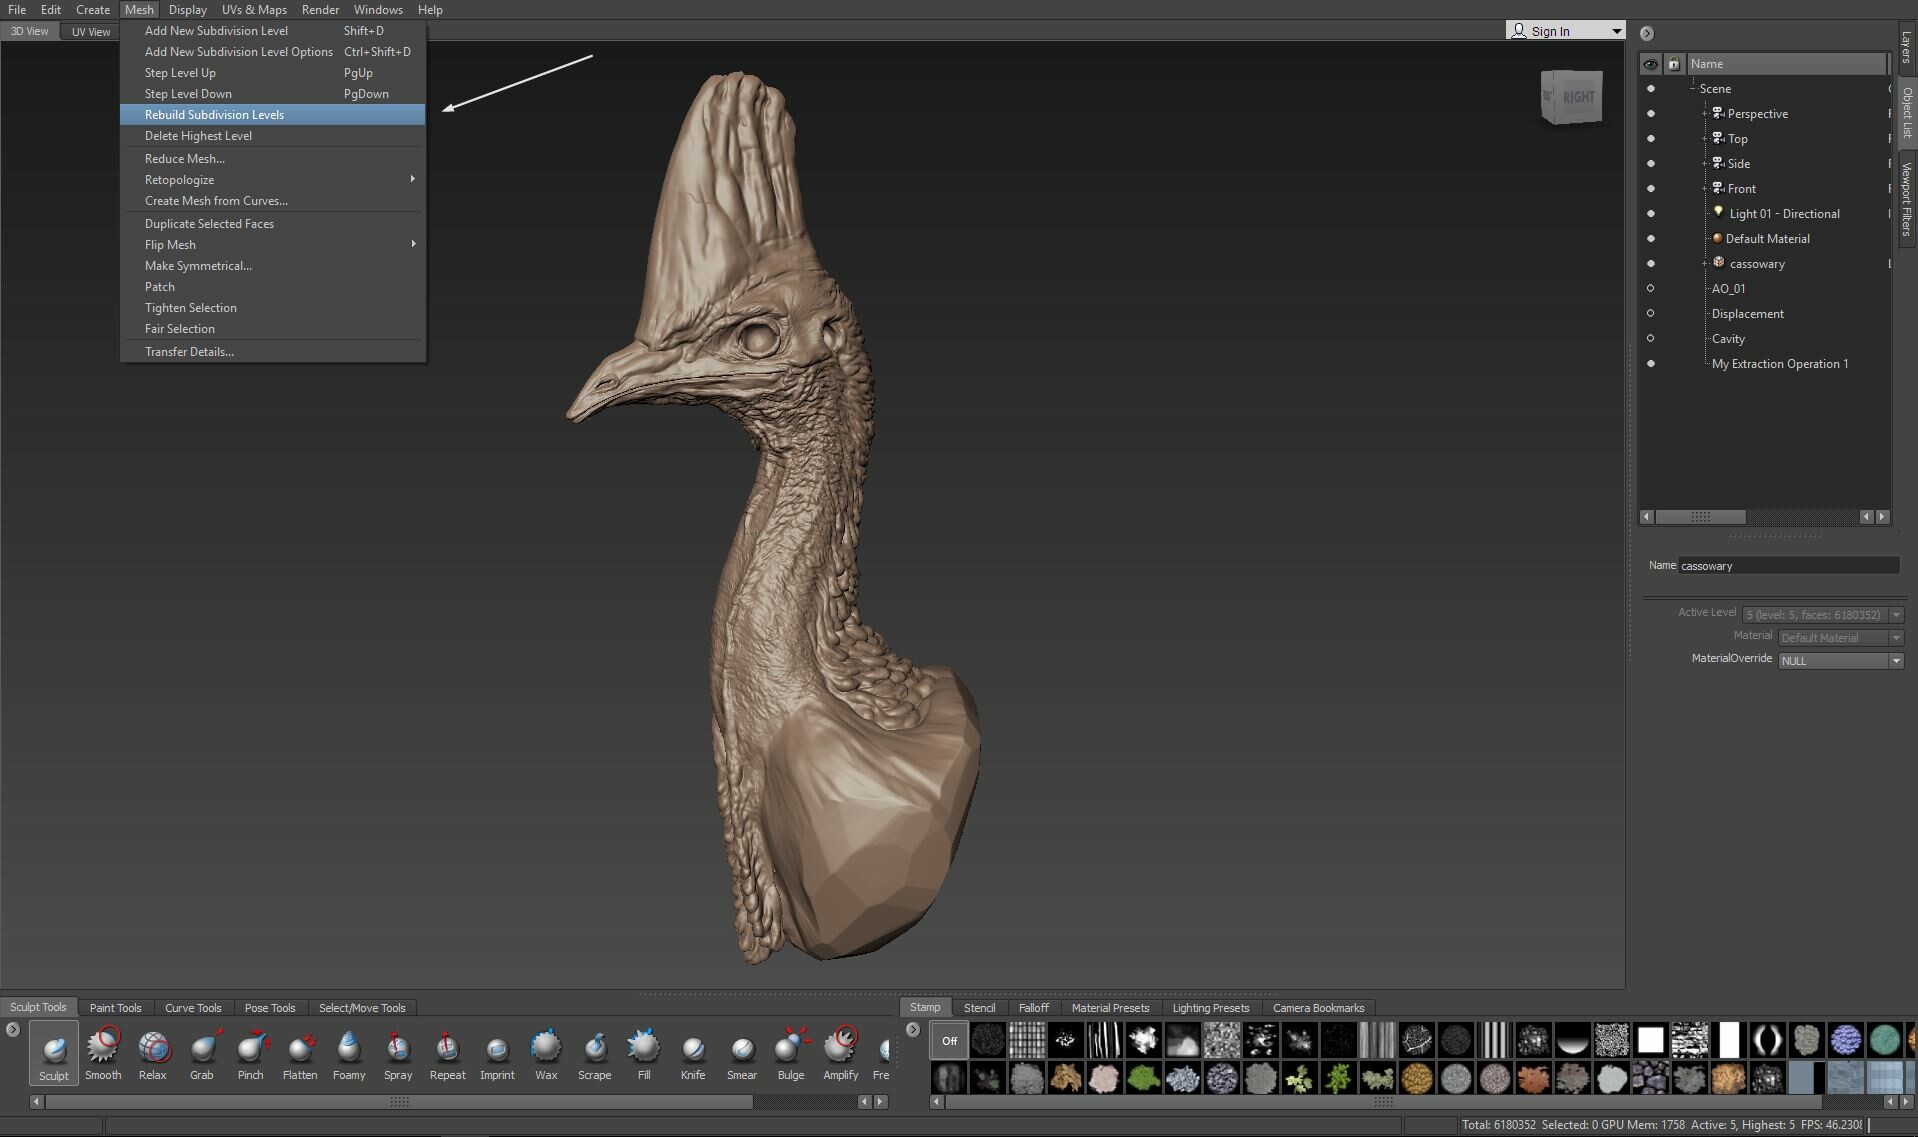
Click on “Rebuild subdivision levels” like the image below so you can have multiple subdivision levels in your mesh.

If this process works, you will be able to see all the subdivision levels on your mesh.

Common errors: Sometimes this option doesn’t work properly because Mudbox is sensitive to mesh errors. But don’t worry, if that’s your case, simply bring the same mesh with a lower resolution and you’ll be okay.

Go to UV’s & Maps > Extract Texture Maps > New Operation.

Choose Ambient Occlusion Map. Here you can also name your extraction operations if you end up having more than one.

After a ton of experiments, these are the setting that I’ve been for almost everything.
On the screenshot below I highlighted the areas that you should pay more attention while adjusting your settings.

If your mesh doesn’t have any problems, you should get a window like the ones above.


And if you have selected the “Preview as diffuse” option, you will see a preview of your map like this one:

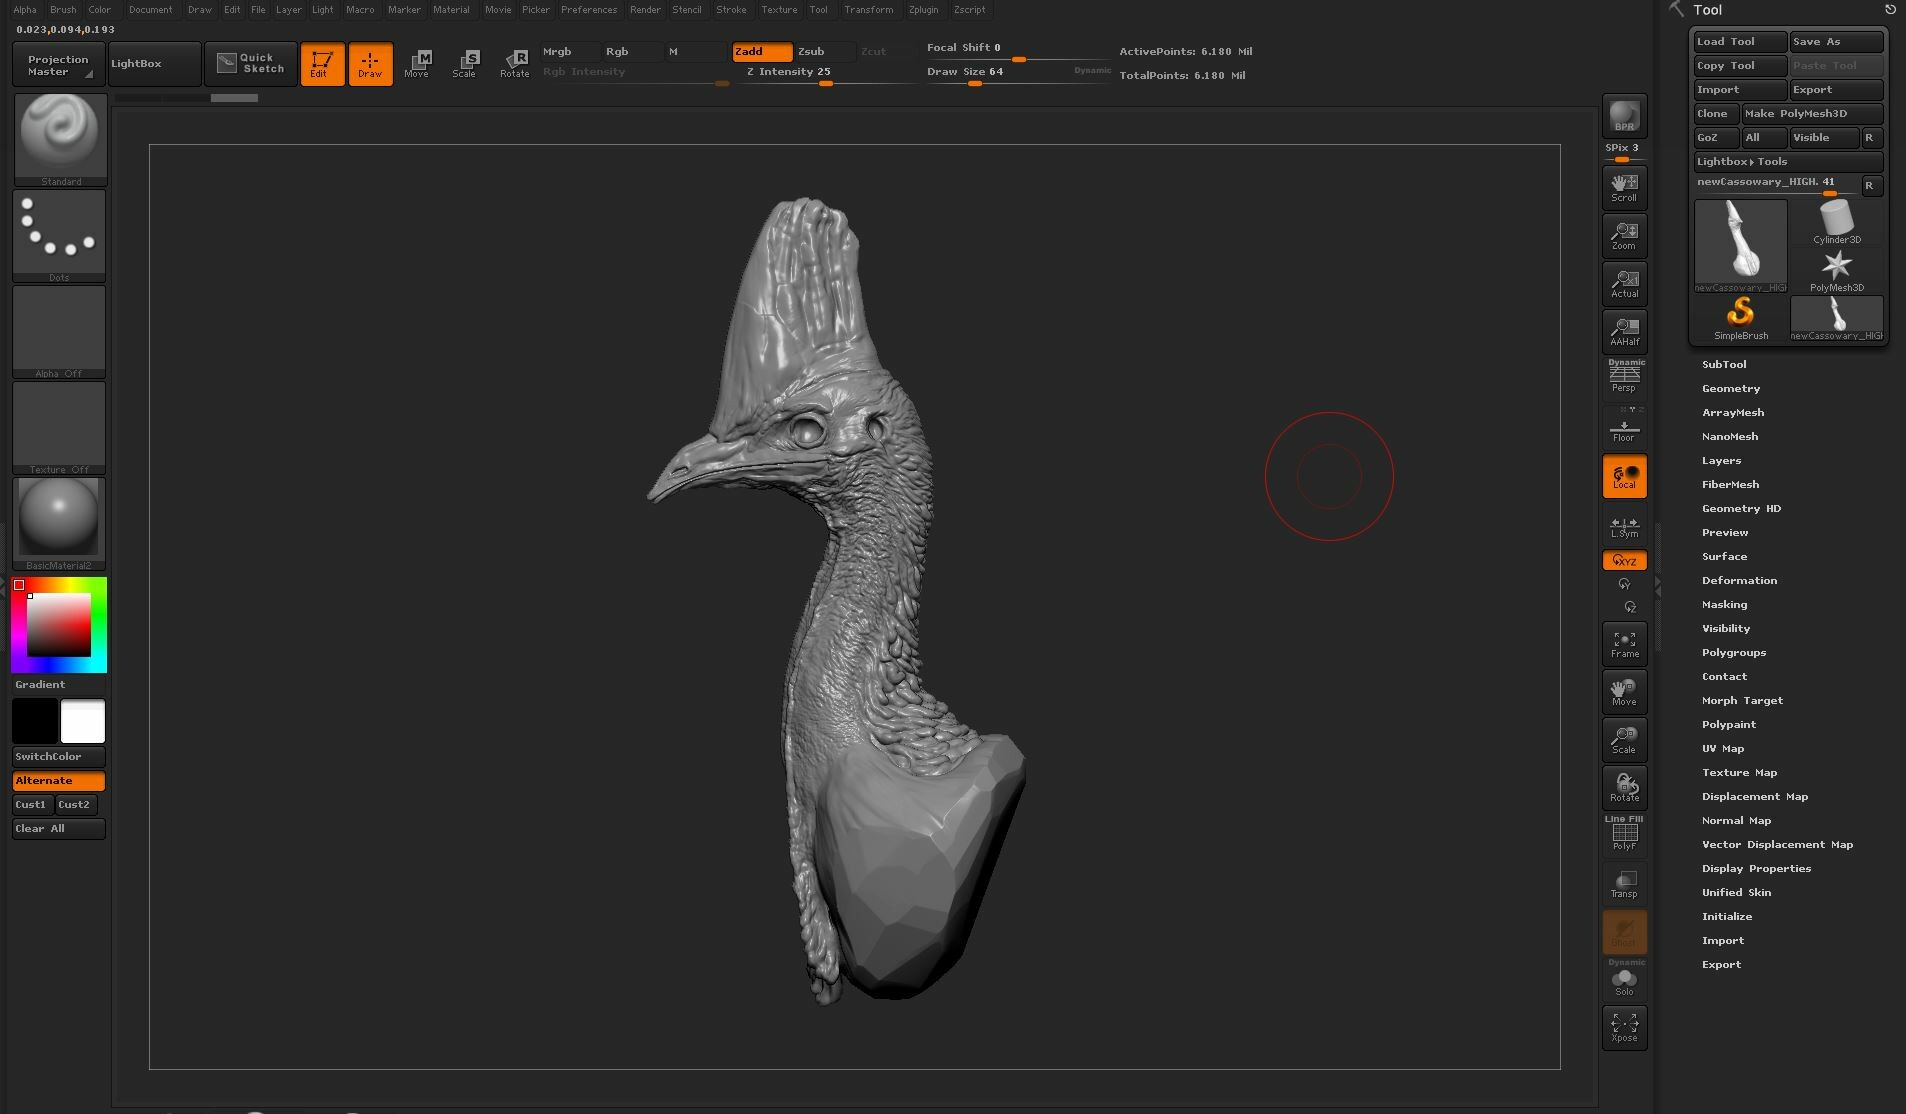
Import your mesh into Zbrush. Make sure it has enough subdivisions (4 million polys or more)

Go to Zplugin > Multi-Map Exporter.
On the screenshot below I highlighted the areas that you should pay more attention while adjusting your settings.

Click on File Names and choose your UV tile ID format


The first step to this tutorial is to import your mesh into Zbrush and add a few levels of detail. The amount of subdivisions will vary from asset to asset and you’ll know if it’s enough when you see that your mask/model isn’t faceted.

This step will allow you to preview your mask accurately without any light/shadow information.

Go to Tool> Masking > Masking by Cavity. Here’s where the magic happens.

By default, the mask by smoothness already give us a great map, but luckily we can go even further and get a better result. On top of the masking tab, you can see a variety of options to adjust your mask.

Another great thing about this method is the fact we can invert the mask before exporting it.

When you’re finally happy with your mask, it is time to bake colors onto the mesh so we can export it later. With your mask selected, invert it so the white area can receive the color and go to the Color menu and change your color to Black and press Fill

Now clear your mask and you’ll see that your mask is now a texture baked into your geometry, ready for export.

If your mask result looks similar to mine, you’re ready to export your map. Go to Zplugin > Multi-Map Exporter and select Texture From Polypaint. This step is very similar to the second extracting method we tried before.

Press OK and click on Create All Maps. Select your output directory, and you’re ready to go, and don’t forget to change your extension name to UDIM’s.


Or you can overlay it on top of your diffuse channel, giving a more interesting look and enhancing your colors with details from your sculpt.

Another great use of a cavity map is to apply it to your rough/gloss maps. It can give you a nice highlight breakup in the recessed areas.
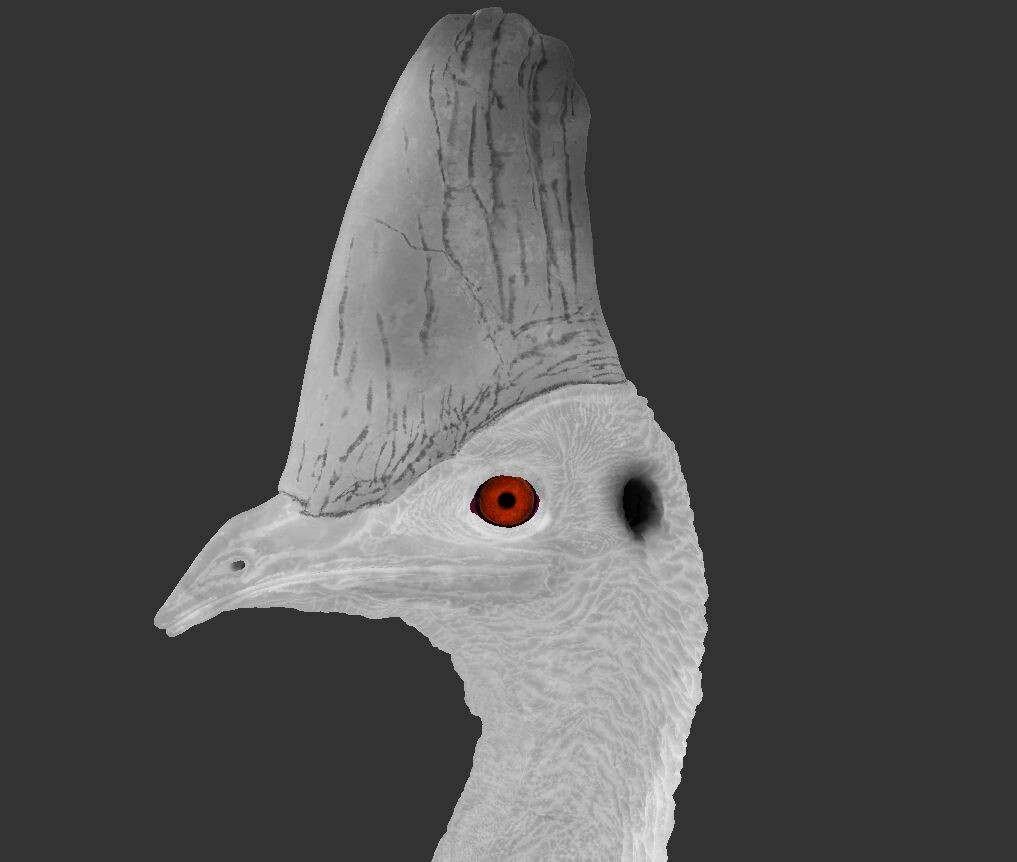
Another great use of a cavity map is to apply it to your rough/gloss maps. It can give you a nice highlight breakup in the recessed areas.